I mean it really rained. With thunder and lightening. Almost 5" of it, and we needed it.
It is almost 5 p.m. now and we just got home from town and the sky has opened up again and it is pouring. To the point where it is hard to see across the street.
But there was a break in it earlier. I went out and looked at my creation and noted a bit of water pooled on the floor. So I took out the leaf blower and moved the water off of it and looked around and pondered a bit and I got to thinking about how hard it was going to be to get the the rafters into place. I figured it was as good a time as any to experiment and work things out.
I took one of the rafters and hoisted it up so it was on top of the wall. Lining up the collar tie, by eye, to the top plate, to get things close to centre.


Well, that was not difficult at all. I was a little encouraged and wondered if I could figure out the rest of the procedure. I grabbed a left over stud and got it flipped part way and propped up.

So that was easy too. I let it back down and started a screw into the back of the "keeper jig" I rigged up. I then flipped the rafter into place and held it there with a 10' 2 x 4 leaning against it. I then went up and put the started screw the rest of the way in, fastening one chord of the rafter to jig.

Well, that was not so hard....except for the part about using a ladder. I am a bit unstable on them, but I had a rafter in place, so I broke out the framing nailer and attached the rafters to the top plates of the walls.

With that figured out and done it was just a matter of going through the same steps on the other end. That side was a bit tighter fitting and required a bit of persuasion to seat fully on the wall, but it was not that difficult. Some more nailing rafters into the top of the wall and it's up!

So, a very short day. Had to go do some grocery shopping and errands, but now the profile of the building is really defined.


The fit is pretty good too. On one side of the front.

and the other side that had to be beaten into place.
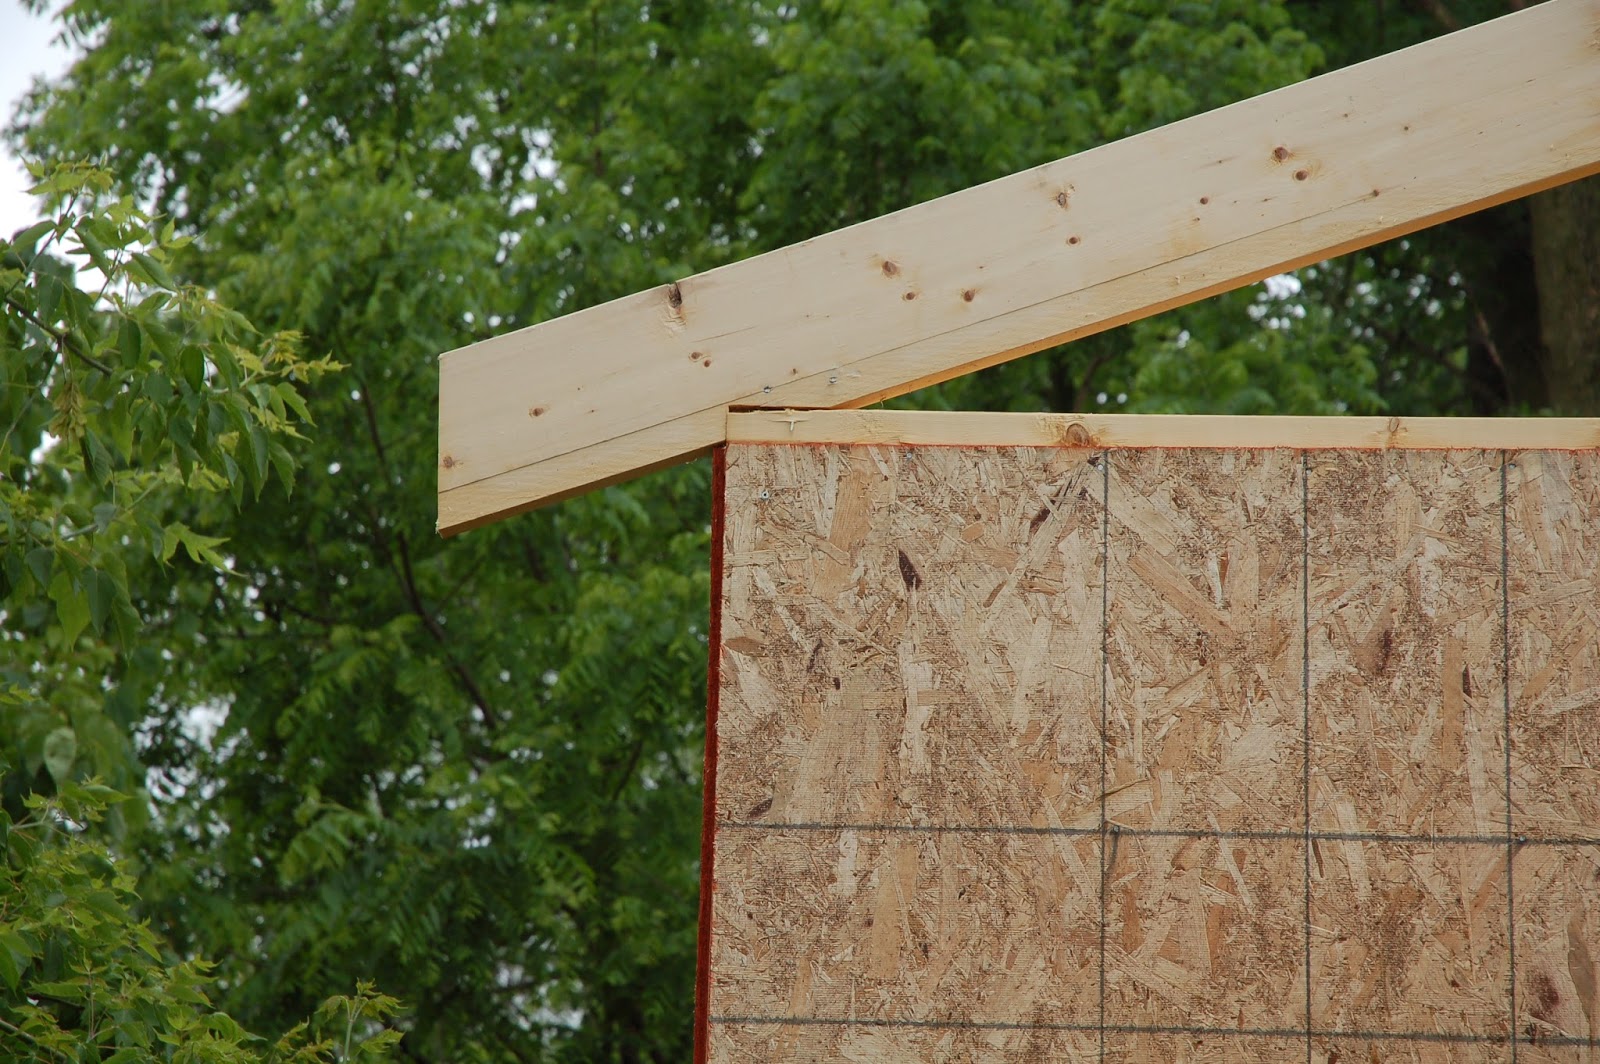
So the next step is to get the ridge beam up now that it has something to support each end. I will have to wait for a break in the weather to try that. I didn't expect to get anything done today, but with some experimenting and going forward for about an hour and a half, I am that much further along and have garnered a little knowledge.
I also think I am going to trim the rafter ends a bit. I was unsure as to weather I was going to add foam insulation to the outside, and I have decided not to. So with the 5/4 deck boards that I am going to use for fascia, that makes my eaves a bit over a foot for the soffit. If I end up doing that from plywood I am going to be wasting a lot of cut off wood. If I can get it to just under a foot (like by the width of my saw blade) I can rip 4 pieces of soffit from a sheet of plywood. I will wait until all the rafters are in place and measure the first and last one, then snap a chalk line to make a nice straight fascia line.
Thanks for dropping in!
No comments:
Post a Comment