We are still getting through 2014. Having gathered some walnut from the fire wood pile and finding a discarded T shirt with my late step sons picture on it (He was an Easter Seals "Timmy" and there was also a commemorative walk his sister organised to raise funds for the Easter Seals) in the rag bin, I decided to do a quick little surprise for Sally. A small frame with the picture part of the T shirt in walnut with a maple base. All finished in shellac.
Sally cried, so I guess it was a good gift.
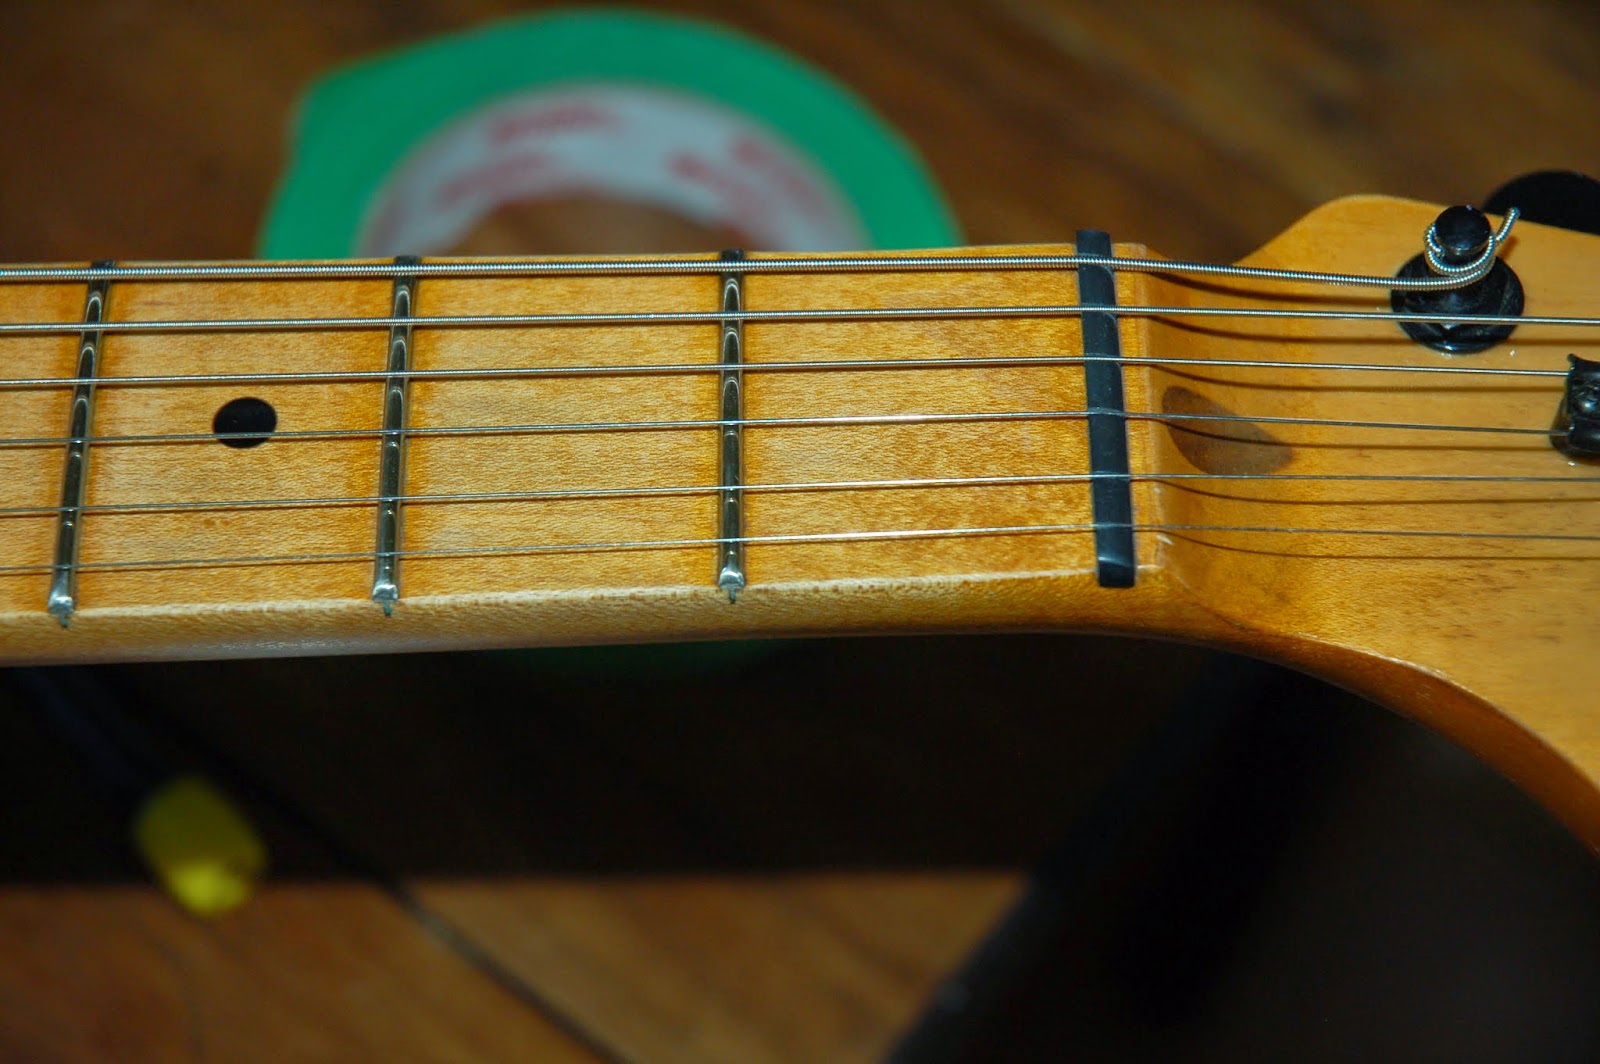
I needed to do little bit of maintenance on my guitar. A bit of wear was showing on the frets, so I did a bit of re crowning to them. I start by taping off the guitar where I am working and also making sure the magnetic pick ups are taped off to protect them from any errant metal dust and filings.
I work on the sides of the fret mostly in order to keep a nice crown on the fret. I start with 400 grit paper and work through the grits all the way up to 2000 grit. Then I give it a go with a bit of rubbing compound and a final polish with Nev-R-Dull, a cotton wadding treated with metal polish.
You can see better what we are getting rid of on the second fret.
One would tend to think that working on a guitar is relatively clean work. One would be mistaken in that thought.
But after being done, cleaned up, and strung up with a new set of .011 - .050 GHS Boomers it looks really nice and feels wonderful. I love being able to see the reflection of the strings in the frets!
There's that piece of walnut again. This time being used to check how the tune up went on the Stanley #7.
It is starting to look nicer than last time we saw it. Plane seems to be working fine.
The idea came to me that I ought to have something to check how level frets are on guitars. Stewart-MacDonald (a big on-line store full of cool stuff for working on guitars) has an item they call a "fret rocker". It is simply a series of different length straight edges that you span 3 frets with, checking to make sure it does not rock back and forth. This way you know that the middle fret of the 3 frets is not high. You can work around the fret board with it and find high frets, then grind them down to level to make the guitar play nicer. I don't have the money to buy one, but I do have a chunk of metal that is no longer good for it's original purpose.
Cutting it out with the Dremel took some time, but I cut it just slightly large and then worked the edges with sandpaper glued to a flat piece of granite tile I keep in the shop.
Now I have a nice set of short reference edges. I really get a kick out of creating things out of discards sometimes. The only thing is, this project has shown me that I ought to keep hold of things as "I could use that someday" always springs to mind. I still have the rest of that old saw blade.
Oh, and I will leave you with a little tip. Get yourself a granite tile. A nice flat one (check with a straight edge in the store......yes they will look at you funny). You only need one, it comes in so handy with sandpaper glued to it (easy releasing craft glue). Also.....keep the cardboard envelopes that your sand paper comes in. It is good for storing sand paper in (who'da thunk it?). If not that, then those cardboard file folder things for the filing cabinet. Get one for each grit, stack it back to front in the cardboard, so you can see what grit it is (or mark it on), put it on a flat surface (like a solid shelf) and store your granite tile on top of it. It keeps your sand paper from going all funny with wrinkled edges and brittle backing for a long time. I use Norton paper mostly, it is available at my local NAPA auto parts store and is good paper. It is not the only good paper, 3M and Klingspore are a couple of others I have used, both good. I use what I can source locally for the most part.
So, until next time. Thanks for dropping in!


No comments:
Post a Comment