You can't pick your neighbours or your family. We had put up with the neighbours from hell for about 3 years. Someone that defines the expression "trailer trash". Now this hillbilly had his electric cut off and set up a small generator IN (yes, in) an OSB sheathed shed with the exhaust exiting a small hole in the OSB. He then hooked it up to the panel in his house with an extension cord and powered his whole house with this small generator. You could hear it bearing down trying to keep up with demand. Eventually the inevitable happened and that was the last we heard from that idiot.


Now, this bone heads daughter was in the bedroom right next to the shed and they were quite content on leaving her there until another neighbour came and got her. Several hours and explosions from stored fuel and having the fire dept. have to return 3 times for smouldering remains and we finally saw the last of them. We had some siding warp from the heat and the rest of the neighbourhood stood around drinking beer and cheering that at last they were the instrument of their own leaving. Luckily no one was hurt.
There are more enjoyable things on the other side of the house going on.

Nature is being nature and puts on entertainment every spring.


June comes around and I decide to try my hand at a box joint jig for the table saw. It was a plan in Shop Notes I believe, and the tightness of the joint can be adjusted.
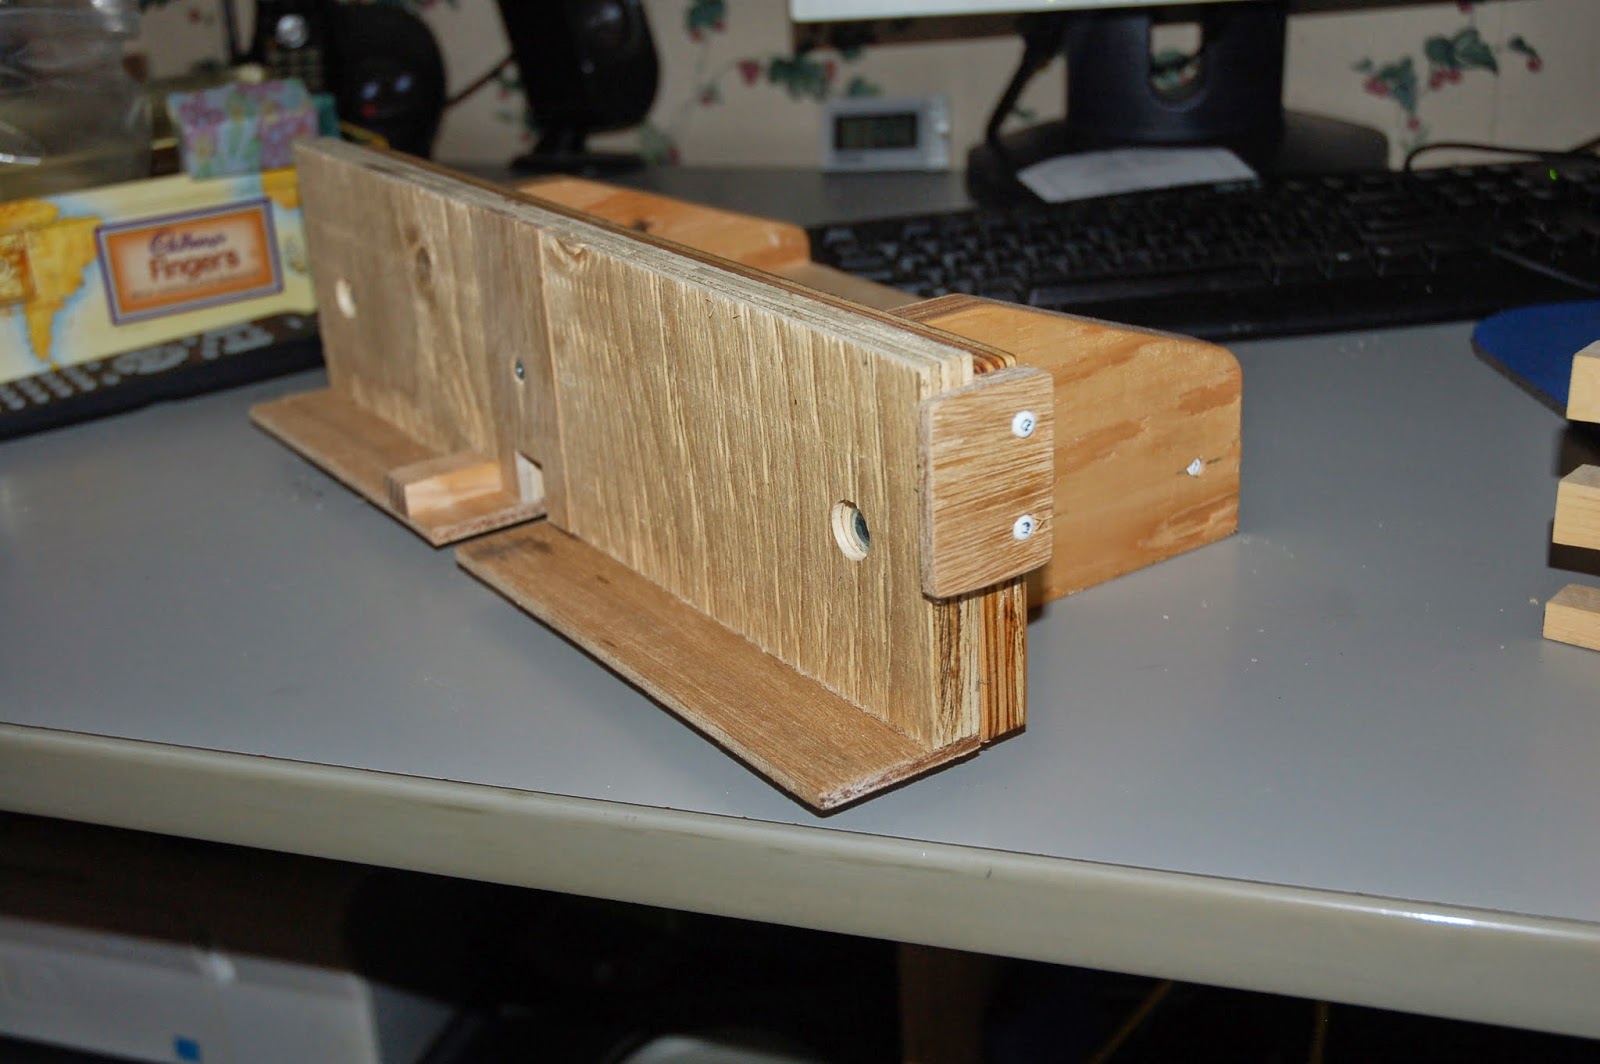
The build pics I took were rather blurry, but the instructions were clear.
I was going to make a bunch of cabinets to hold tube guitar amp heads that a group were thinking of putting together. Alas, that plan fell through. I did get one of them made though. I started with 1 x 12 rough cut pine barn board and rough cut it with the circular saw.
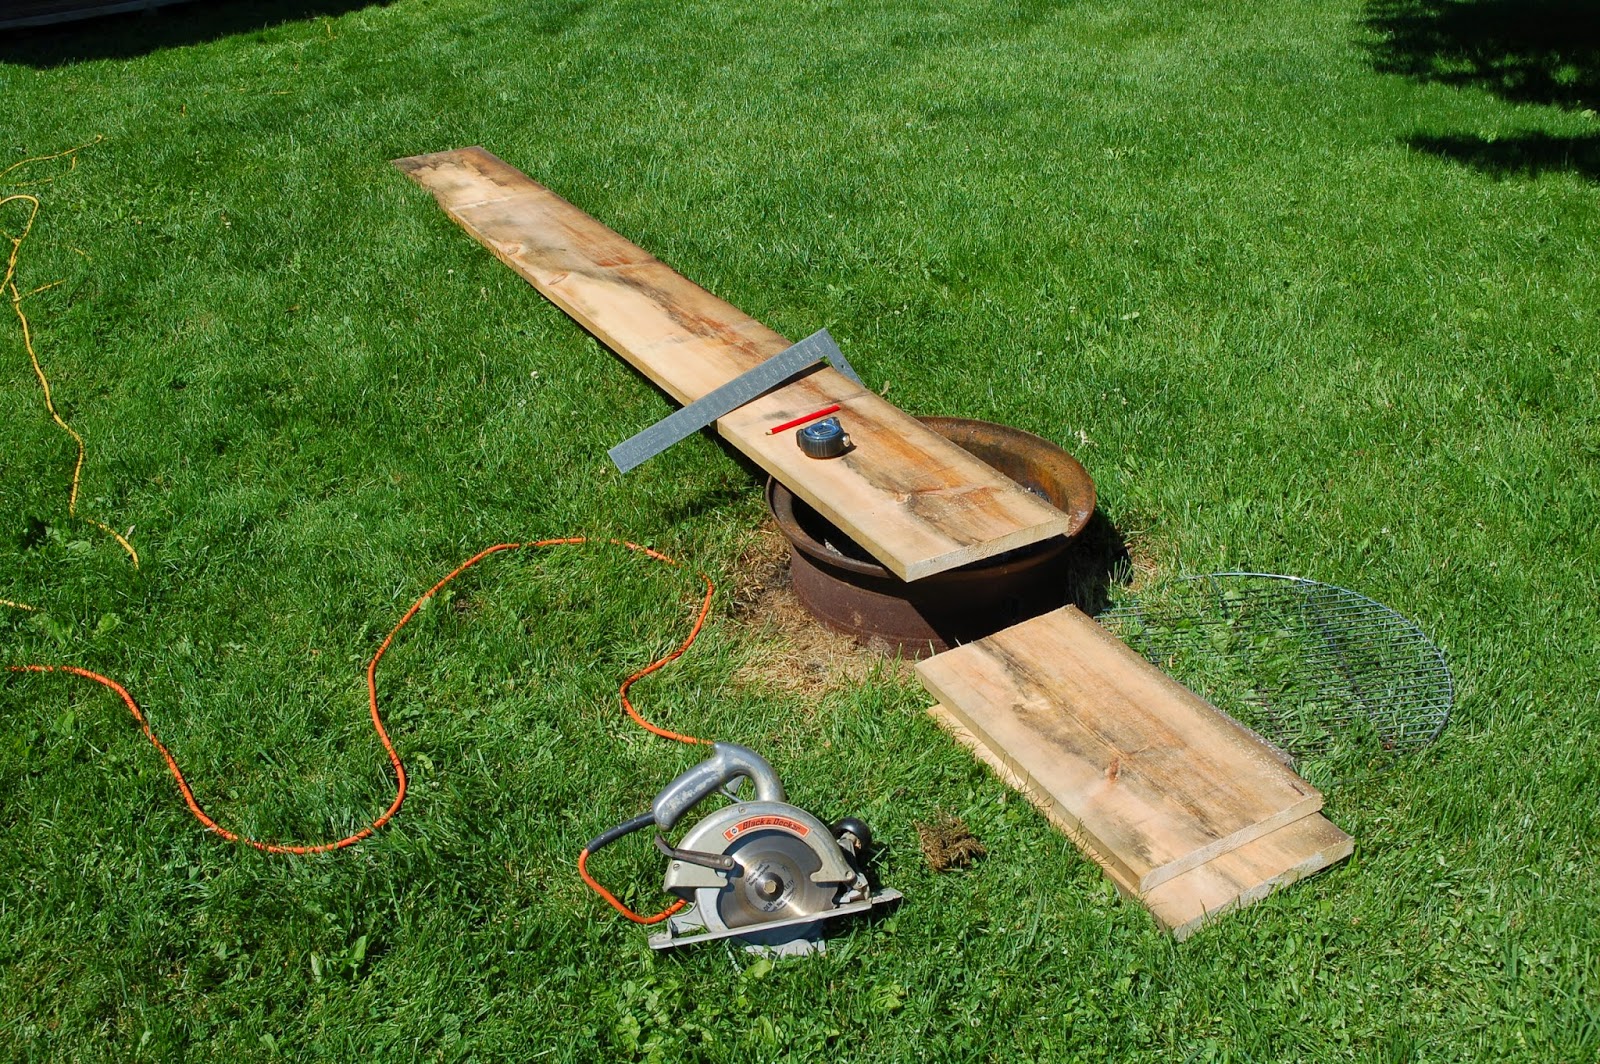
Through the Makita to get it to thickness.

Then the first trial of the box joint jig.

Which turned out pretty good. So I glued it up and clamped it. I put a piece of ply in it to keep it nice and square. It is actually the routing jig for the pick ups in the guitar working double duty.

The cauls were set up pieces. I then set up the router in the table and rounded all the edges.


The joints turned out very nice. So I put on a few coats of wipe on poly.

Then I messed around a bit and made a vented panel and came up with a bit of an art deco look.

Not bad for barn board, if I do say so myself. Like I said, the group project fell through so now the box, without the art deco panel, sits on its end as a plant stand. The pick up jig on the other hand.......

It got attached to the guitar and first guided one of those new forstner bits to hog out the majority of the waste.

Then guided the router around to clean it up in several passes.

I bought a set of single coil pick up rings from Stewart MacDonald and put in some Texas Specials that I traded an original Ibanez TS-9 distortion box for.

Yes, it is coming along nicely. I opted for all black hardware. I think I picked right.
About this time I got myself a mini splitter for the saw. There is a lack of safety equipment on the saw and I wanted a bit of protection against kick back. Be aware that I am not an instructor or pro, just a novice learning new skills, so when you do your thing, take care, you are responsible for your own safety.


Now we are into August of 2010 and this is when I built the desk that I wrote about previously. That was a big project along with everything else. The guitar got closer to being done and by mid September I had the control knobs come in the mail. They matched beautifully.

So now I have a fully functioning hard tail, semi hollow strat. One volume and one tone control. The tone control has a push/pull switch built in to activate the bridge pick up regardless of the position of the selector switch. So now I have the neck/bridge combination available as well as being able to have all 3 on at once for a wider variation of tones.

In October I took a 10 minute drive out to a farm of guy I met at a local event. He has a barn full of hand tools and as my curiosity and confidence were growing, I felt it was time to get some bench planes. I spent a few hours going through racks of planes and finally picked out a few for myself. In all I got a Great Neck block plane, a #3, 4, 5, 6, and a 7, along with a marking gage. In all I spent $115 for planes that were ideal to fix up as users. I think the newest Stanley was made about 1938 according to http://hyperkitten.com/ which is a great resource for Stanley planes.


The #5 is a Record, the #7 and the marking gage both are marked as Stanley Sweetheart models. The #7 was the first I tackled to bring back and I would recommend to anyone trying this for the first time to start on a smaller plane. A #7 has a lot of sole to flatten and there were times I thought my arms were going to fall off. But I continued on with sand paper attached to a flat surface and got it looking pretty good.


Again, in hindsight, I find I rarely use the #3 and the #6. The 5 and 7 I use for flattening (with the 7 doing jointer duty also) and I have the #4 tuned up the best as my smoother. Much like a set of wooden planes would consist of a fore plane (5), a try plane (6,7, or 8), and a smoother (3 or 4). A worn smoother with the mouth enlarged from the sole being worn away would often get a heavy camber (arc) on the blade and become a scrub plane.
I may, in the future, make some shooting boards and dedicate the #6 to it, but I also have my eye on a Veritas shooting board plane, which is a lot of money, but oh so nice.
I would have to admit that Paul Sellers influenced my fondness for the #4. It fits my hand nice (the #3 being a bit small), and I find it suitable for all manner of tasks. Of course, one could do a lot worse than Paul as an influence. His manner and style and genuine love of his craft shows in his writing and his videos. Highly recommended in my books.
So, that brings on winter and closing the shop for the season. A routine of cleaning the tools and waxing surfaces. Packing things up and bringing glues and finishes inside. The little garden shed is poor refuge from the elements and by December this year we are into this again.


Well, that was busy. 2010 put some ideas in my head and got me a little further along the road. Getting myself lost in a project is something I enjoy. It took 2 pages to get it all in, but there it is.
Thank you for stopping by!


